Kurentoを使ったWebRTC MCUの動かし方
WebRTC MCUを自前で実装となると難しいですが、KurentoというOSS(オープンソースソフトウェア)を使用すれば簡単にMCU機能が実装できます。
本記事はKurentoのNode.js版デモを動かすまでの手順です。
本記事の環境は次の通りです。
- Windows10のWSLでUbuntu 18.04 LTSを実行
- Node.jsをインストール済み
- npmをインストール済み
Kurento Media Server のインストール
最初に必要なツール類をインストールします。
sudo apt update
sudo apt upgrade
sudo apt install gnupg
Kurento リポジトリをシステムに追加する
次のコマンドでKurentoのリポジトリをシステムに追加します。途中でWindowsファイアウォールの警告が表示された場合は許可してください。
sudo apt-key adv --keyserver keyserver.ubuntu.com --recv-keys 5AFA7A83

source /etc/upstream-release/lsb-release 2>/dev/null || source /etc/lsb-release

sudo tee "/etc/apt/sources.list.d/kurento.list" >/dev/null <<EOF
# Kurento Media Server - Release packages
deb [arch=amd64] http://ubuntu.openvidu.io/6.13.2 $DISTRIB_CODENAME kms6
EOF
Kurento Media Server のインストール
次のコマンドでKurento Media Serverをインストールします。
sudo apt update
sudo apt install kurento-media-server
参考
Kurento Media Server の起動と停止
Kurento Media Server の起動
次のコマンドでKurento Media Serverを起動します。Windowsファイアウォールの警告が表示された場合は許可してください。
sudo service kurento-media-server start
Kurento Media Server の停止
Kurento Media Serverの停止は次のコマンドを実行します。
sudo service kurento-media-server stop
デモの実行
事前準備
必要なモジュールをグローバルインストールします。
sudo apt install default-jdk
sudo apt install maven

sudo npm install -g bower
sudo npm install -g http-server
作業用に任意のフォルダを作ります。(ここではkmsとしました)
cd ~
mkdir kms
cd kms/
loopback デモ
基本のデモになります。まずGitHubから環境をダウンロードします。
git clone https://github.com/Kurento/kurento-tutorial-js.git
cd kurento-tutorial-js/kurento-hello-world/
git checkout master
bower install
localhostのみで実行できるようにkurento-tutorial-js/kurento-hello-world/js/index.jsを次のように修正します。(★の部分)
var args = getopts(location.search,
{
  default:
  {
    // Non-secure WebSocket
    // Only valid for localhost access! Browsers won't allow using this for
    // URLs that are not localhost. Also, this matches the default KMS config:
    ws_uri: "ws://" + location.hostname + ":8888/kurento", // ★アンコメント

    // Secure WebSocket
    // Valid for localhost and remote access. To use this, you have to edit the
    // KMS settings file "kurento.conf.json", and configure the section
    // "mediaServer.net.websocket.secure". Check the docs:
    // https://doc-kurento.readthedocs.io/en/latest/features/security.html#features-security-kms-wss
    //ws_uri: "wss://" + location.hostname + ":8433/kurento", // ★コメントアウト

    ice_servers: undefined
  }
});
実行
- Kurento Media Server を起動する
- 次のコマンドを実行
http-server -p 8443 --ssl --cert keys/server.crt --key keys/server.key
- Chromeで
https://localhost:8443/にアクセスする
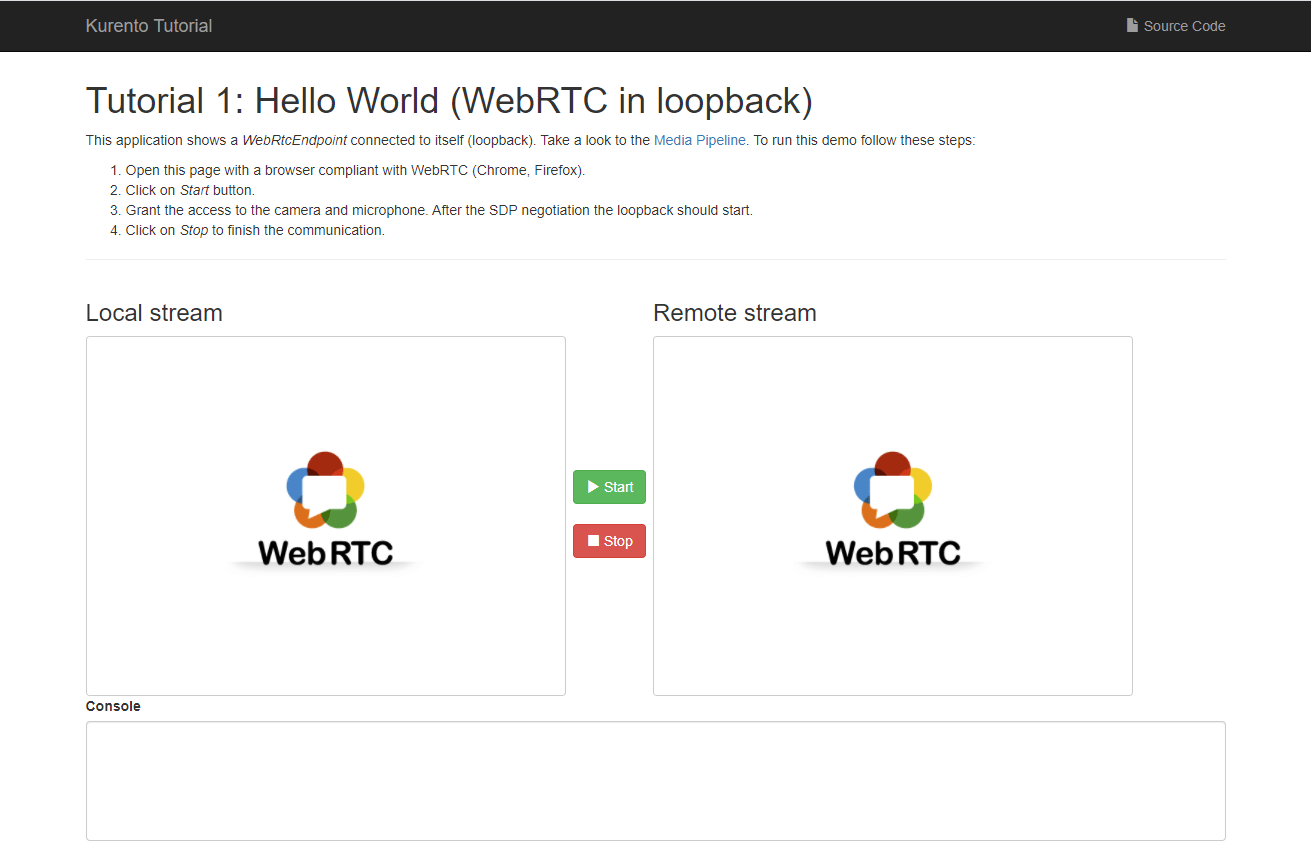
Startボタンを押すと、左に自分のビデオが表示後、右にも同じビデオが表示されます。
MCU デモ
MCU機能を使ったグループ通話のデモです。まずGitHubから環境をダウンロードします。
git clone https://github.com/chapin666/kurento-group-call-node.git
cd kurento-group-call-node/
git checkout mcu
基本的にはREADME.mdに従って作業すれば実行できるはずですが、一部うまく動かなかったので手順を記載します。
kurento-group-call-nodeフォルダで次のコマンドを実行し、必要なモジュールをインストールします。
npm install
kurento-group-call-node/server/static/bower.jsonのdependencies > kurento-utilsを次のように変更します。これをしないとローカルでビデオが表示されませんでした。
{
  "dependencies": {
    "kurento-utils": "master"
  }
}
cd server/static/
bower install
localhostのみで実行できるようにkurento-group-call-node/server/index.jsを次のように修正します。(★の部分)
const argv = minimst(process.argv.slice(2), {
    default: {
        as_uri: 'https://127.0.0.1:3000',
        ws_uri: 'ws://127.0.0.1:8888/kurento'   // ★自分のアドレスに変更する
    }
});
実行
- Kurento Media Server を起動する
- 次のコマンドを実行
node index.js
- Chromeで
https://localhost:3000/にアクセスする
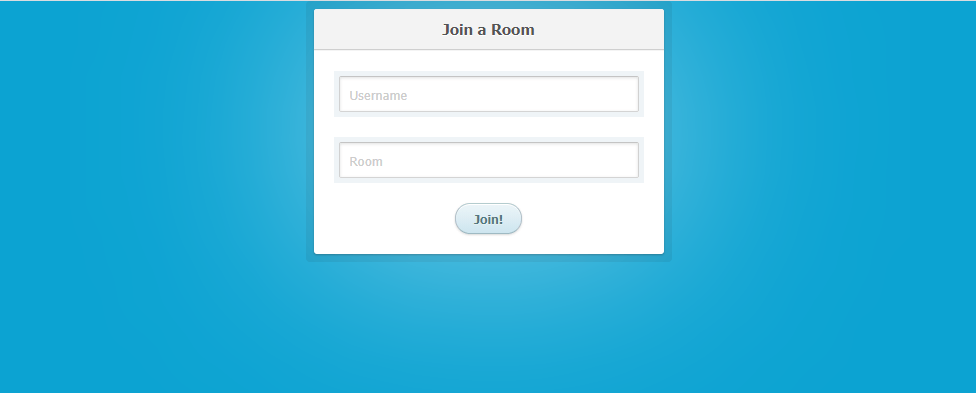
ブラウザで複数タブを起動し、同じ部屋にアクセスすると動画が合成されます。
参考
Node.js版Kurento GroupCallを使ってみた