WordPressオリジナルテーマの作り方-基本編
最近、WordPressのオリジナルテーマ作成を始めたので備忘録として残していきたいと思います。
本記事はオリジナルテーマ作成における基本部分についてです。
最小構成
ひとまず最小構成でテーマの適用を確認します。
以下を作成して同じフォルダに格納し、/wp-content/themes配下にアップロードします。
- index.php
- style.css
- screenshot.png (4:3のアスペクト比で作成)

これだけでオリジナルテーマを適用可能になります!
- 外観>テーマ
- アップロードしたテーマが表示されるので有効化
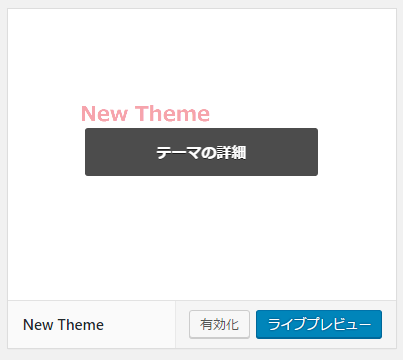
プレビュー
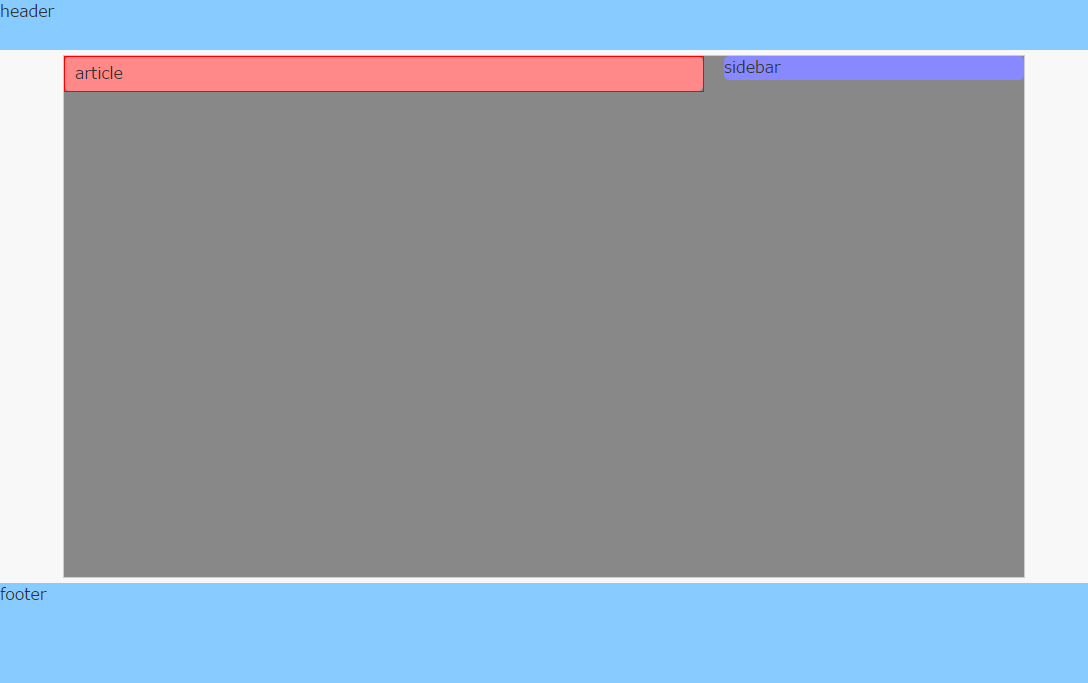
オリジナルテーマを適用した画面が表示されました!
ソース
index.php
<!DOCTYPE html>
<html>
<head>
    <title><?php bloginfo( 'name' ); ?></title>
    <link rel="stylesheet" href="<?php bloginfo( 'stylesheet_url' ); ?>">
</head>
<body>
<div class="vertical-flex-layout">
<header>
    <p>header</p>
</header>
<main>
    <div class="horizontal-flex-layout">
        <div class="main">
            <article>
                <p>
                article
                </p>
            </article>
        </div><!-- /.main -->
        <div class="sidebar">
            <aside>
                <p>sidebar</p>
            </aside>
        </div><!-- /.sidebar -->
    </div><!-- /.horizontal-flex-layout -->
</main>
<footer>
    <p>footer</p>
</footer>
</div><!-- /.vertical-flex-layout -->
</body>
</html>
style.css
@charset "UTF-8";
/*---------------------------------------------------------
Theme Name: New Theme
Theme URI: http://moewe-net.com/
Description:
Author: myname
Author URI: http://moewe-net.com/
Version: 0.0.1
License: GNU General Public License v2 or later
License URI: http://www.gnu.org/licenses/gpl-2.0.htm
---------------------------------------------------------*/
* {
	color: #333;
	font-family: "メイリオ", Meiryo, "ヒラギノ角ゴ Pro W3", Hiragino Kaku Gothic Pro, "MS Pゴシック", sans-serif;
	margin: 0px;
	padding: 0px;
}

main,
article,
aside,
header,
footer,
nav,
section {
	display: block;
}

html,
body {
	height: 100%;
}

body {
	background: #f8f8f8;
	margin: 0;
	min-width: 320px;
	overflow-wrap: break-word;
	word-wrap: break-word;
}

.vertical-flex-layout {
	display: flex;
	flex-direction: column;
	height: 100%;
}

.horizontal-flex-layout {
	display: flex;
	flex-flow: row nowrap;
	width: 100%;
}

header,
footer {
	background: #8cf;
	margin: 0 auto;
	width: 100%;
}

header {
	flex: 0 0 50px;
}

footer {
	clear: both;
	flex: 0 0 100px;
}

main {
	background: #888;
	border: 1px solid #ccc;
	flex: 1 0 auto;
	margin: 5px auto;
	min-height: 10vh; /* Required to use word-break on "flex-basis: auto;". (IE11) */
	width: 960px;
}

.main {
	border: 1px solid #f00;
	flex: 1 0 auto;
	padding: 0;
	width: 0; /* Required to use word-break on "flex-basis: auto;". */
}

.main article {
	background: #f88;
	border: 0;
	border-radius: 5px;
	padding: 5px 10px;
}

.sidebar {
	background: #88f;
	border-radius: 5px;
	flex: 0 0 300px;
	height: 100%;
	margin: 0 0 0 20px;
}

article p,
aside p {
	word-break: break-all;
}
index.php の分離
- header.php
- footer.php
- sidebar.php
を作成し、index.phpから読み込ませます。
index.phpを下記のように変更します。置き換えた箇所のコードをそれぞれのファイルに記述してアップロードします。
<?php get_header(); ?>
<main>
    <div class="horizontal-flex-layout">
        <div class="main">
            <article>
                <p>
                article
                </p>
            </article>
        </div><!-- /.main -->
        <?php get_sidebar(); ?>
    </div><!-- /.horizontal-flex-layout -->
</main>
<?php get_footer(); ?>
header.php
<!DOCTYPE html>
<html>
<head>
    <title><?php bloginfo( 'name' ); ?></title>
    <link rel="stylesheet" href="<?php bloginfo( 'stylesheet_url' ); ?>">
</head>
<body>
<div class="vertical-flex-layout">
<header>
    <p>header</p>
</header>
footer.php
<footer>
    <p>footer</p>
</footer>
</div><!-- /.vertical-flex-layout -->
</body>
</html>
sidebar.php
<div class="sidebar">
    <aside>
        <p>sidebar</p>
    </aside>
</div><!-- /.sidebar -->
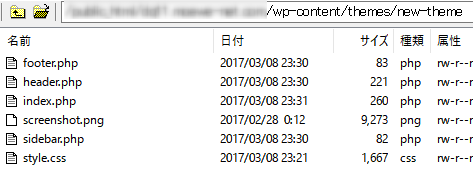
ファイルを分離しましたが、見た目は変わりません。
サイドバー用のWidgetを追加
サイドバーを使用するためには下記手順が必要です。functions.phpを作成し、以下を記述します。
<?php
register_sidebar();
そしてsidebar.phpも下記のように変更します。
<div class="sidebar">
    <aside>
        <?php dynamic_sidebar(); ?>
    </aside>
</div><!-- /.sidebar -->
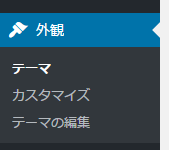
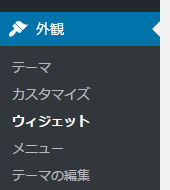
これで外観にウィジェットが表示され、サイドバーの追加が可能となります。
適用前
適用後
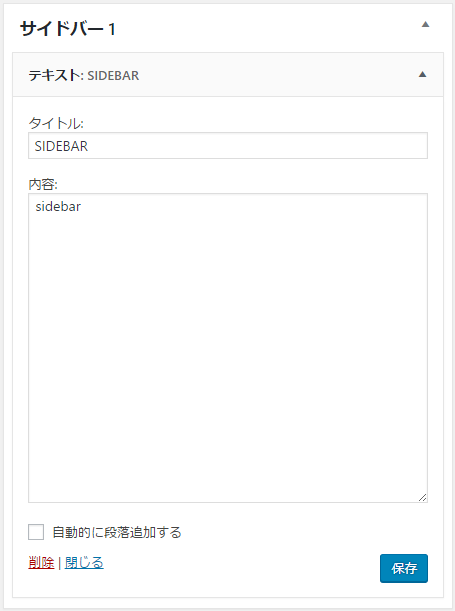
サイドバーにテキストを追加してみます。
プレビュー

追加したサイドバーが表示されました!
ヘッダにタイトルなどを反映する
headタグの編集
header.phpにmeta情報を追加します。また、</head>の直前に<?php wp_head(); ?>を記述します。
headerタグの編集
<?php bloginfo( 'name' ); ?>を使ってサイト名を表示するように変更しました。
<!DOCTYPE html>
<html <?php language_attributes(); ?>>
<head>
    <meta charset="UTF-8">
    <meta http-equiv="X-UA-Compatible" content="IE=edge">
    <meta name="viewport" content="width=device-width, initial-scale=1">
    <title><?php bloginfo( 'name' ); ?></title>
    <link rel="stylesheet" href="<?php bloginfo( 'stylesheet_url' ); ?>">
    <?php wp_head(); ?>
</head>
<body>
<div class="vertical-flex-layout">
<header>
    <p><a href="<?php bloginfo( 'url' ); ?>" class="sitename"><?php bloginfo( 'name' ); ?></a></p>
</header>
style.cssに下記を追加します。
.sitename {
	color: #fff;
	font-size: 22px;
	font-weight: 700;
	line-height: 30px;
	text-decoration: none;
	text-shadow: 1px 1px 1px #000, -1px 1px 1px #000, 1px -1px 1px #000, -1px -1px 1px #000;
}
投稿記事の表示
index.phpを変更して記事の表示を行います。 <div class="main">の中を下記のように変更します。
<div class="main">
    <?php if ( have_posts() ): ?>
        <?php while ( have_posts() ): the_post(); ?>
            <article>
                <h2><?php the_title(); ?></h2>
                <p><?php the_date(); ?></p>
                <?php the_content(); ?>
            </article>
        <?php endwhile; ?>
    <?php else: ?>
        <p>記事なし</p>
    <?php endif; ?>
</div><!-- /.main -->
プレビュー
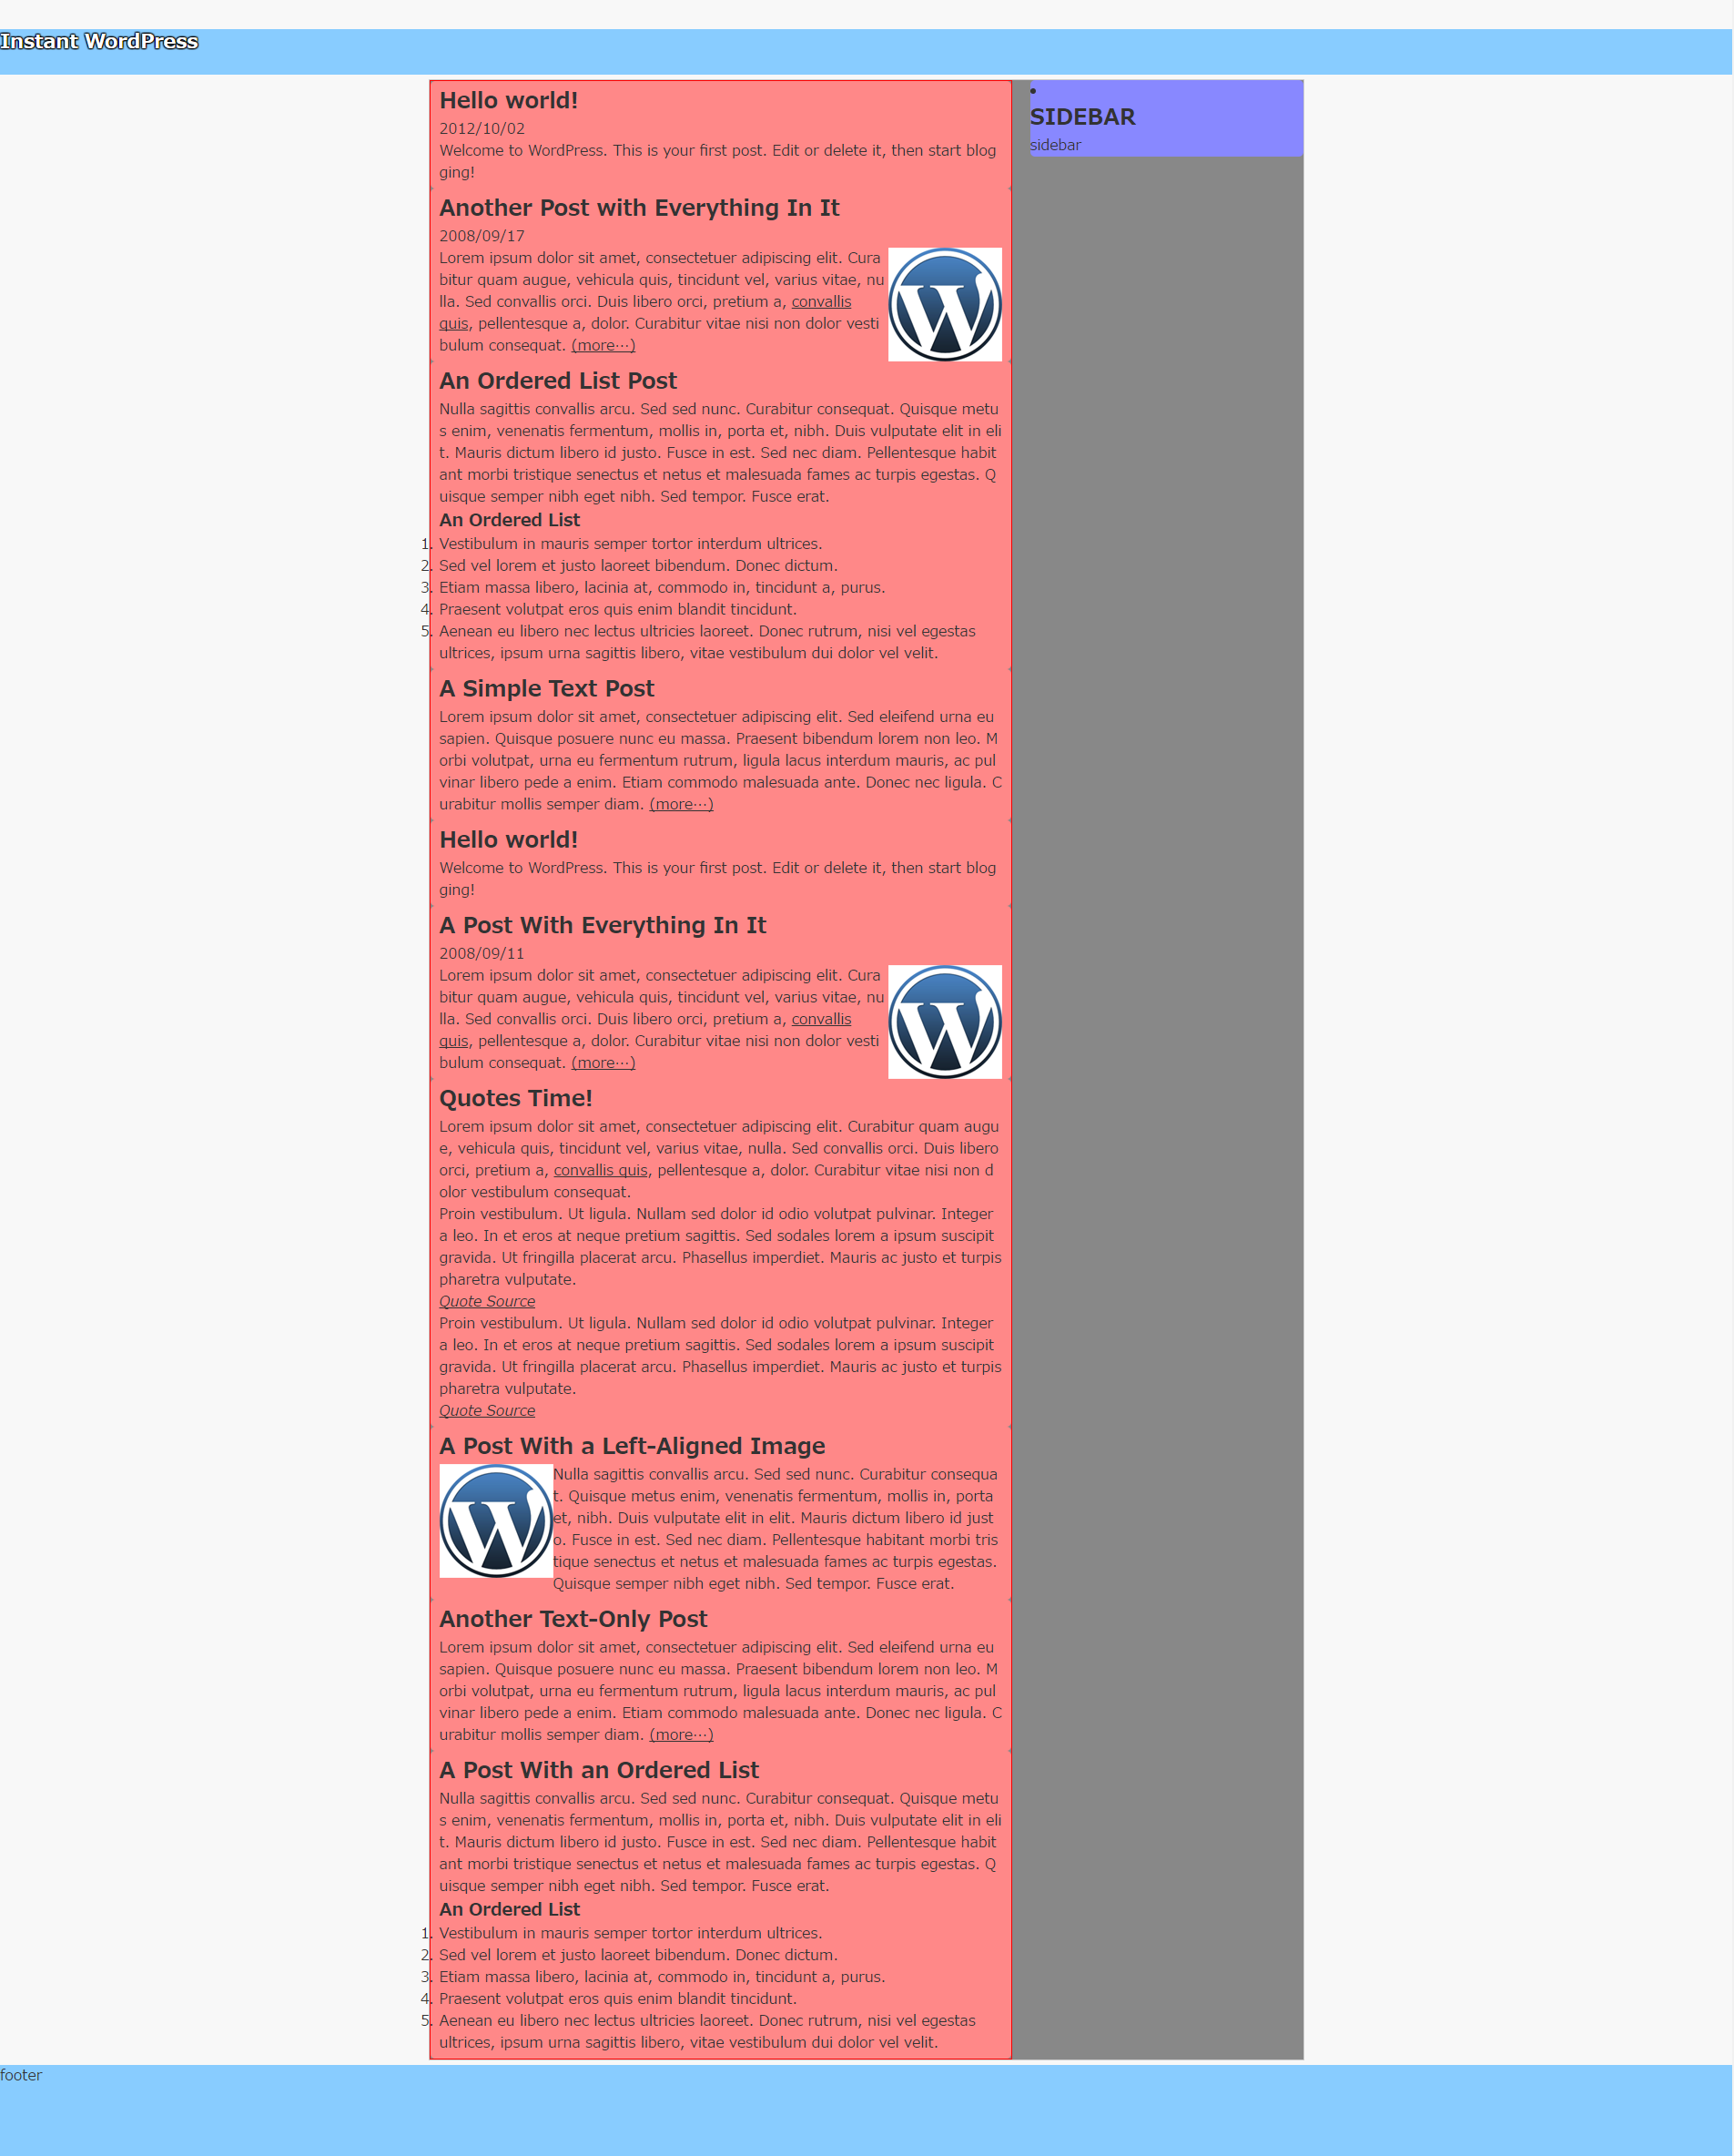
記事の表示までを行うことができました。ここからCSSや表示を調整していくことになります。

